

Laboratory material testing is predictable by design. Samples are polished to a mirror finish, vibration-dampening tables minimize noise, and climate-controlled rooms keep temperature stable. Out in the field, maintenance engineers on pipelines or NDT inspectors working on rail bridges do not get any of those advantages.
That contrast creates a familiar reliability gap: how can industrial teams capture lab-level insights like hardness and Young’s modulus directly on real assets, without losing trust in the numbers?
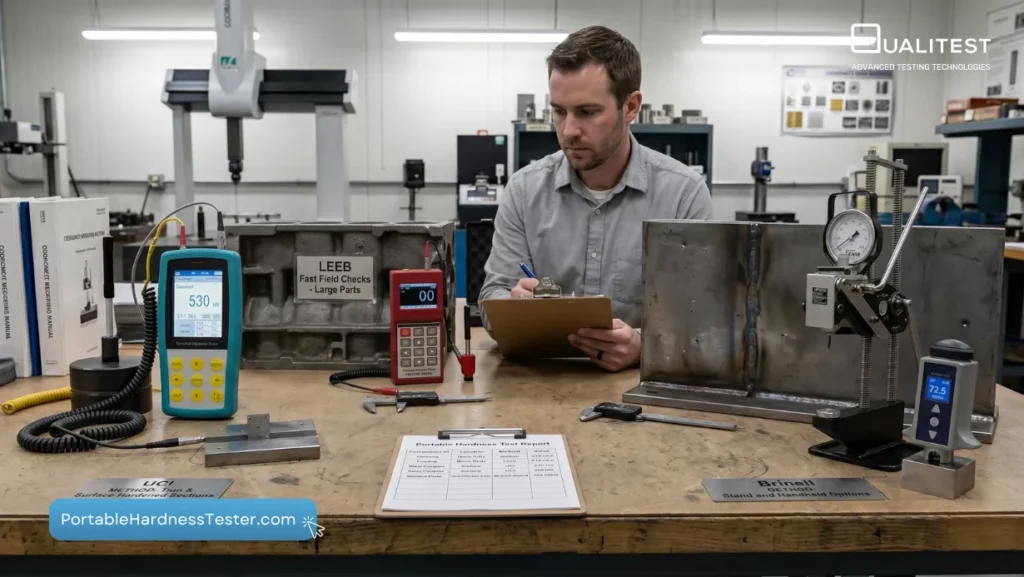
The path forward is not “better instincts” or “more experience.” Unlike common field tools like rebound (Leeb) testers or ultrasonic contact impedance (UCI) devices, instrumented indentation records the entire load–displacement cycle, as long as teams control the unglamorous variables: surface condition, seating, alignment, calibration, and consistent reporting. This guide breaks down those fundamentals and turns field indentation into a repeatable, auditable method for asset integrity decisions.
What “Instrumented Indentation” Really Measures
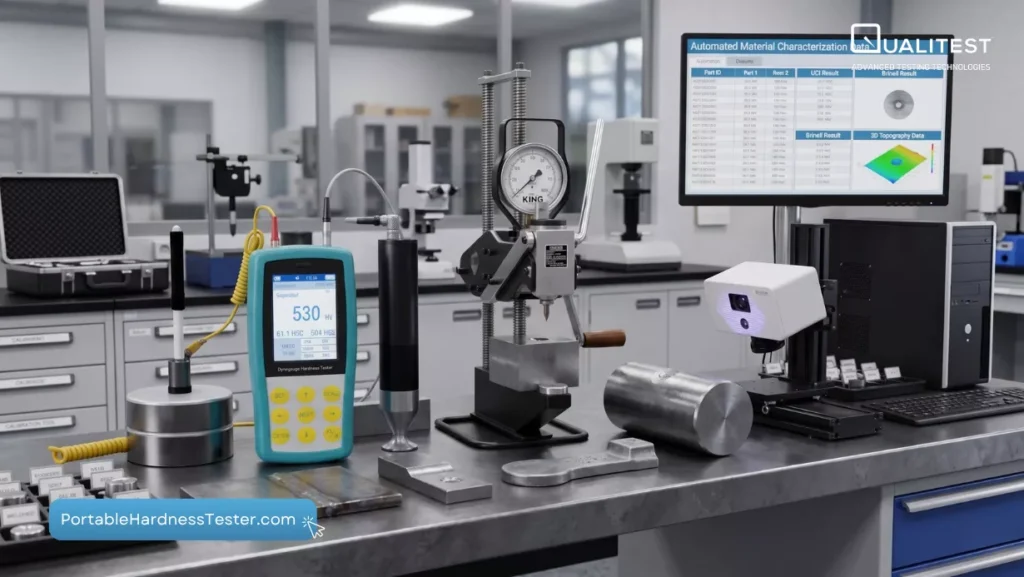
To understand why standardization is critical, we must first distinguish instrumented indentation from common field tools like rebound (Leeb) testers or ultrasonic contact impedance (UCI) devices.
Hardness and Elastic Response
Unlike traditional hardness tests that only measure the size of a residual dent, instrumented indentation records the entire load–displacement cycle. As the diamond tip (usually a Berkovich geometry) is pressed into the material, the device tracks the force applied and the depth of penetration in real-time.
- Loading Curve: Tells us about the plastic and elastic resistance of the material (Hardness).
- Unloading Curve: Provides the data necessary to calculate the Young’s Modulus (elasticity).
Why the Difference Matters
Because this method analyzes the curve rather than an optical measurement of the hole, it is faster and less prone to operator vision errors. Measuring both hardness and Young’s modulus in a single cycle allows engineers to identify material degradation—such as hydrogen embrittlement or thermal softening—with much higher confidence than hardness data alone could provide.
Why Field Measurements Fail Without Standardization
Without a strict procedure, field indentation data can be worse than useless—it can be misleading. In industrial environments, several “data killers” often interfere with the measurement:
- Surface Roughness: If the metal surface has “peaks and valleys” that are large relative to the indentation depth, the indenter may hit a peak and slip, or land in a valley and provide a false reading of the material’s structural resistance.
- Seating and Stability: On a curved pipe or a vibrating machine, any “rocking” of the device during the cycle creates noise in the displacement sensing, ruining the load–displacement curve.
- Operator Bias: The amount of force an operator uses to hold the device against the asset can shift the baseline displacement, leading to drift in the results across different shifts or teams.
- Environmental Drift: Changes in temperature or humidity can affect capacitive sensors if the device isn’t properly calibrated for the specific environment of the day.
The Portable Approach: Engineering for the Field
Standardization starts with using the right hardware designed for industrial rigors. Modern portable testers, like the one described by Gladkikh et al., utilize:
- Electromagnetic Actuation: This allows for precise, automated control of the loading rate, removing the “human element” from the force application.
- Capacitive Sensing: High-sensitivity tracking of the tip displacement, capable of measuring nanometer-scale changes even in outdoor conditions.
- Dual Support Modes: Using different “feet” or clamping attachments for bulk assets (like a thick casting) versus thin-walled assets (like a small-diameter pipe) to ensure a stable mechanical loop.
A Standardized Field Methodology: The Playbook
The following procedure represents the “Gold Standard” for industrial instrumented indentation. Following these steps ensures that a measurement taken in a refinery in January is comparable to one taken in a pipeline trench in July.
Phase 1: Pre-Checks and Planning
Before touching the asset, define the objective. Are you looking for simple hardness values, or do you need the Young’s modulus to assess structural fatigue?
- Check Accessibility: Can the device be seated flat against the measurement area?
- Environmental Assessment: If the asset is above 50°C or below -10°C, ensure the device is rated for those temperatures.
- Safety First: Ensure the surface prep (grinding/polishing) is permitted in the specific zone (e.g., explosive environments).
Phase 2: The Surface Preparation Standard
This is where 80% of field errors occur.
- Cleaning Sequence: Degrease the area, remove loose oxides/scale with a wire brush, and dry the surface.
- The Roughness Rule: As a standard, the surface roughness (Ra) must be less than 5% of the intended indentation depth. For most applications with a depth of 10 to 20 microns, a fine grind or rough polish using 400 to 600 grit is required.
- When to Polish: If measuring Young’s modulus, a mirror-like finish is almost always required to get a clean unloading curve.
Phase 3: Setup and Alignment
- Seating: Ensure the device’s support feet have three points of stable contact. There should be zero “rocking” when manual pressure is applied.
- Alignment: On convex surfaces (pipes), the indenter must be perfectly perpendicular to the apex of the curve. Even a 5-degree tilt can distort the Berkovich tip’s projected area calculation.
- Clamping Force: Use a defined pressure range. Many devices have a “pre-load” indicator—always wait for the green light before starting the cycle.
Phase 4: Calibration and Reference Checks
Never trust a field device until it has proven itself on a known quantity.
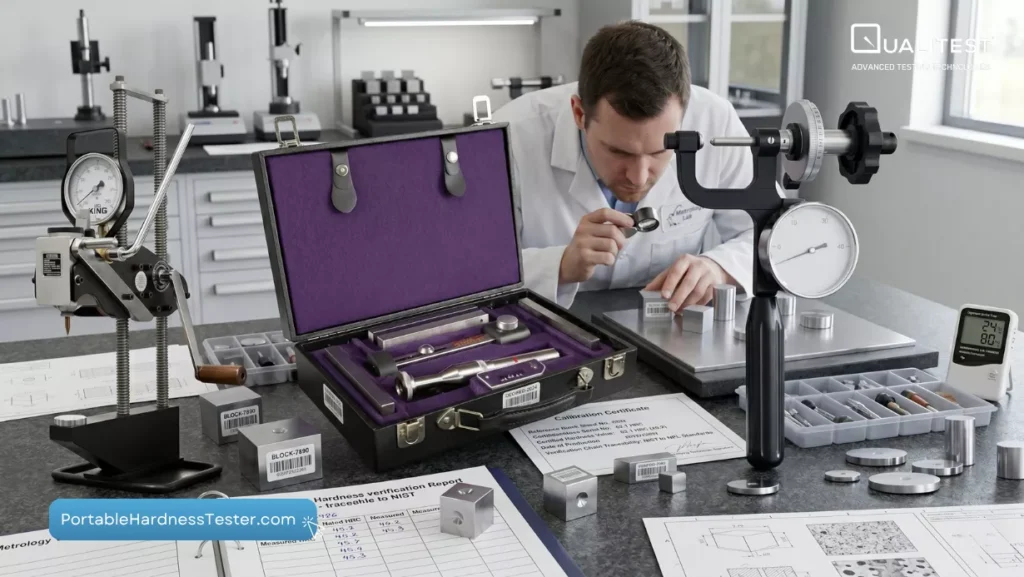
- Verification Blocks: Carry a reference block (usually a high-grade steel or aluminum) with a certified hardness and modulus.
- The “3-Indent Check”: Perform three indents on the reference block before starting the job and three after. If the average drifts by more than 3%, re-calibrate the device.
Phase 5: The Measurement Cycle
- Load Selection: Match the load to the material. Harder steels require higher loads (e.g., 10N to 100N) to ensure the indentation depth is deep enough to ignore surface skin effects.
- Spacing: Use the “3d rule”—the center of each indent should be at least three times the diameter of the indent away from its neighbor to avoid “work-hardened” zones.
- Sampling Size: Never rely on a single indent. Standard methodology requires a minimum of 5 valid indents per area to calculate a meaningful average and standard deviation.
How to Report Results: The Audit Trail
Data is only as good as its documentation. A standardized report should allow a third-party engineer to recreate the test conditions.
Field Indentation Reporting Template
| Category | Detail |
| Asset Metadata | Asset ID, GPS Location, Date/Time, Operator Name |
| Environmental | Ambient Temp, Asset Temp, Humidity |
| Surface Prep | Details regarding the grinding grit level, cleaning agents used, and the estimated surface roughness (Ra) |
| Geometry | Flat / Convex (Diameter) / Concave / Thin-wall |
| Parameters | Max Load (N), Loading Rate, Dwell Time (s) |
| Reference Data | Verification block ID, pre-test result, post-test result |
| Statistics | Mean Hardness, Mean Modulus, Std Dev, Number of Indents |
Use Cases for Standardized Field Indentation
- Pipeline Integrity: Checking for “hard spots” in vintage pipelines that are susceptible to Stress Corrosion Cracking (SCC).
- Rail Maintenance: Monitoring work-hardening of rail heads to predict when grinding or replacement is necessary.
- Weld Quality: Mapping the hardness across the Heat-Affected Zone (HAZ) of a new field weld to ensure it meets code (e.g., ASME or API standards).
- Structural Aging: Assessing whether a bridge or ship hull has lost its elastic properties due to long-term fatigue or corrosion.
Common Mistakes and Quick Fixes
- Measuring through Paint: You cannot measure the metal’s properties through a coating. Even a thin primer will “absorb” the displacement, giving you a false (low) modulus. Fix: Remove coating down to bare metal.
- Too Few Samples: Relying on two indents is dangerous. Scatter is natural in field conditions. Fix: Increase to 5-10 indents and use the median if an outlier is present due to a vibration spike.
- Ignoring Curvature: On small pipes, the device might “slip” during the loading phase. Fix: Use a V-block adapter or a chain-clamp to lock the device to the pipe.
Conclusion
Field instrumented indentation is no longer a “experimental” lab technique; it is a mature industrial tool. However, the sophistication of the device is only half the battle. By standardizing surface preparation, seating, calibration, and reporting, industrial teams can move away from “estimations” and toward high-fidelity data that can be trusted for multi-million dollar asset decisions.
The pillars of field success are simple: a clean surface, a stable seat, a verified device, and a consistent report.
References:
Gladkikh, E. V., et al. (2026). Portable hardness tester for instrumental indentation in industrial conditions. Poverkhnost.
Leave a Reply